Photo Checklist - Taking Assessment Photos
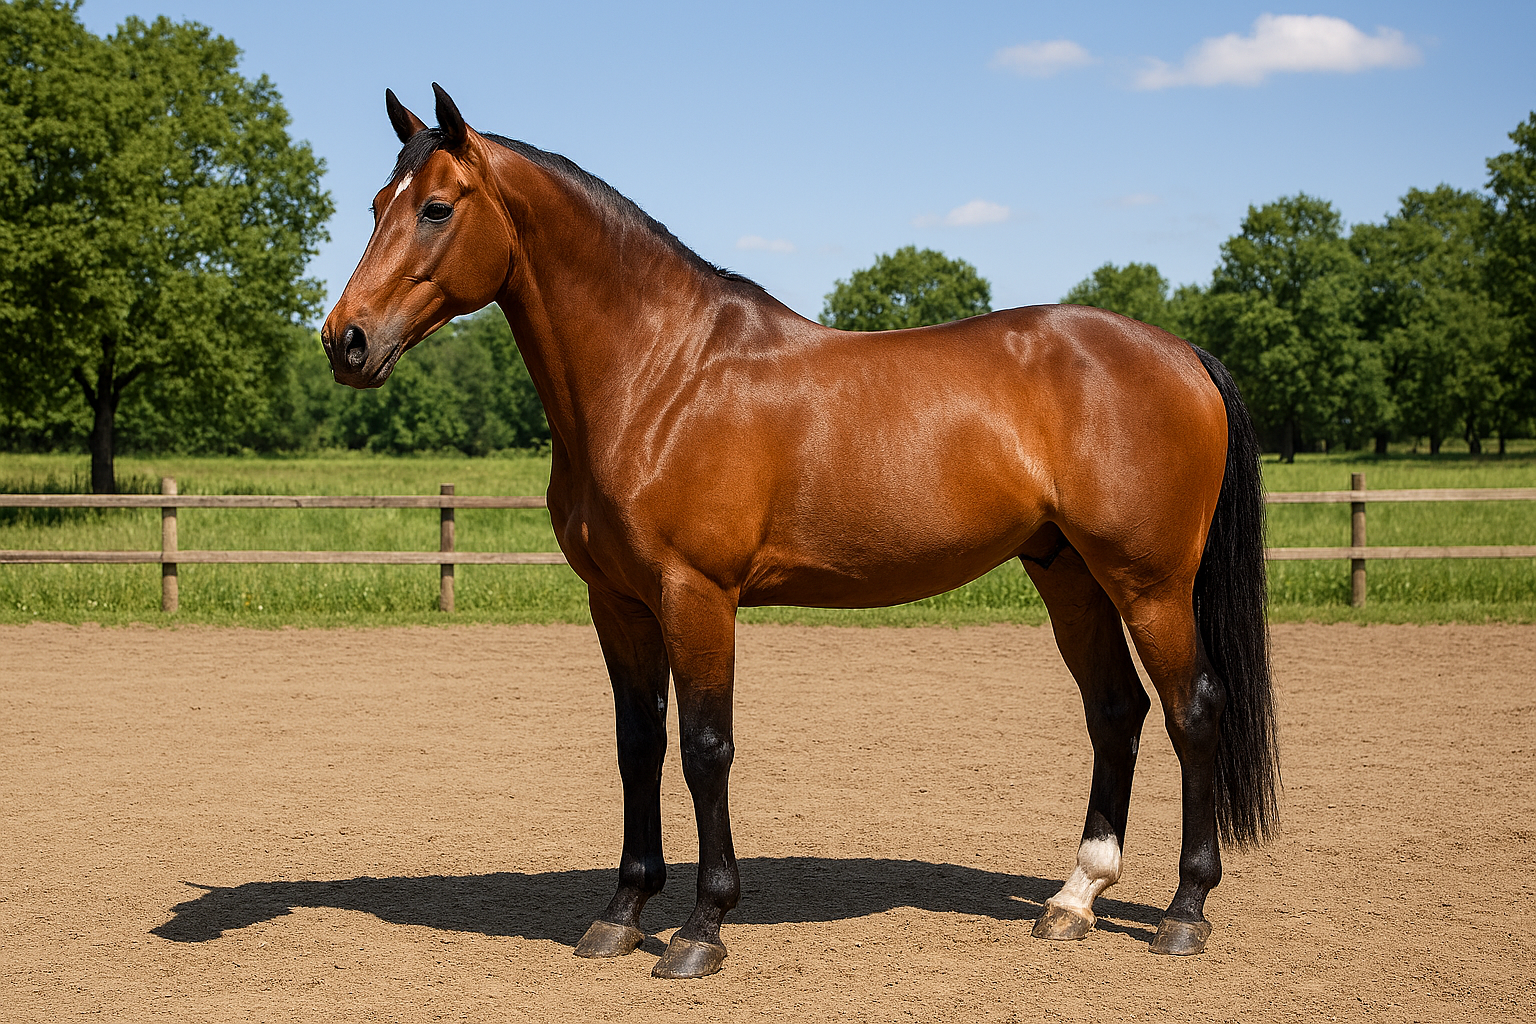
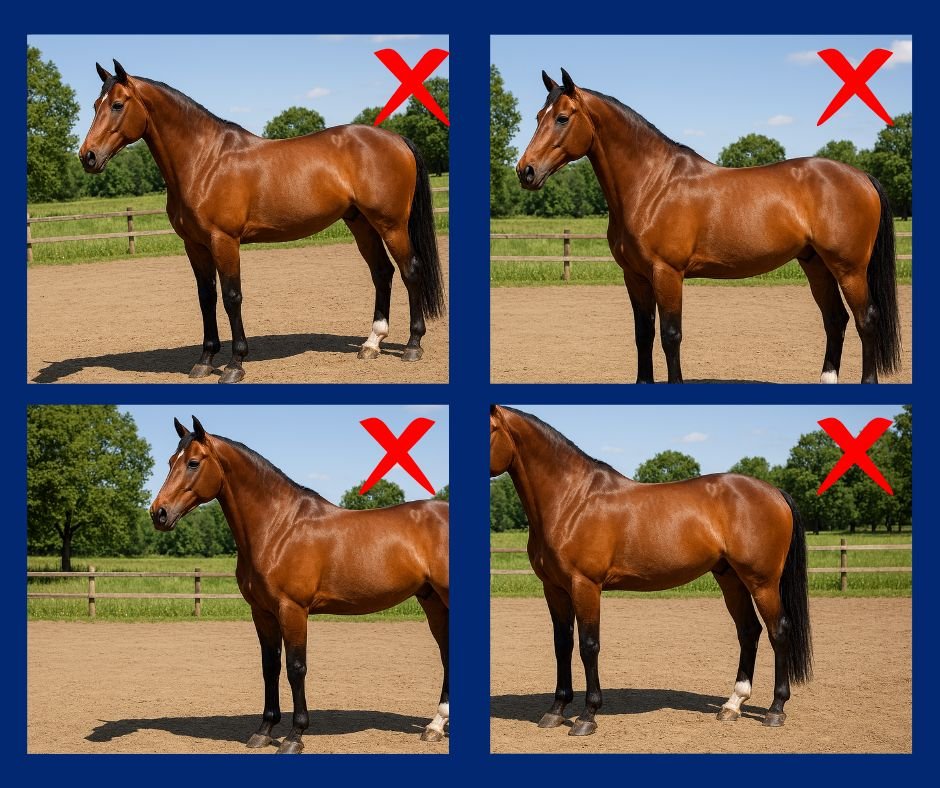
Image 1: Left Side View: Horse stands square on a flat, level surface, camera at mid-body height, showing the entire left side including all four legs.
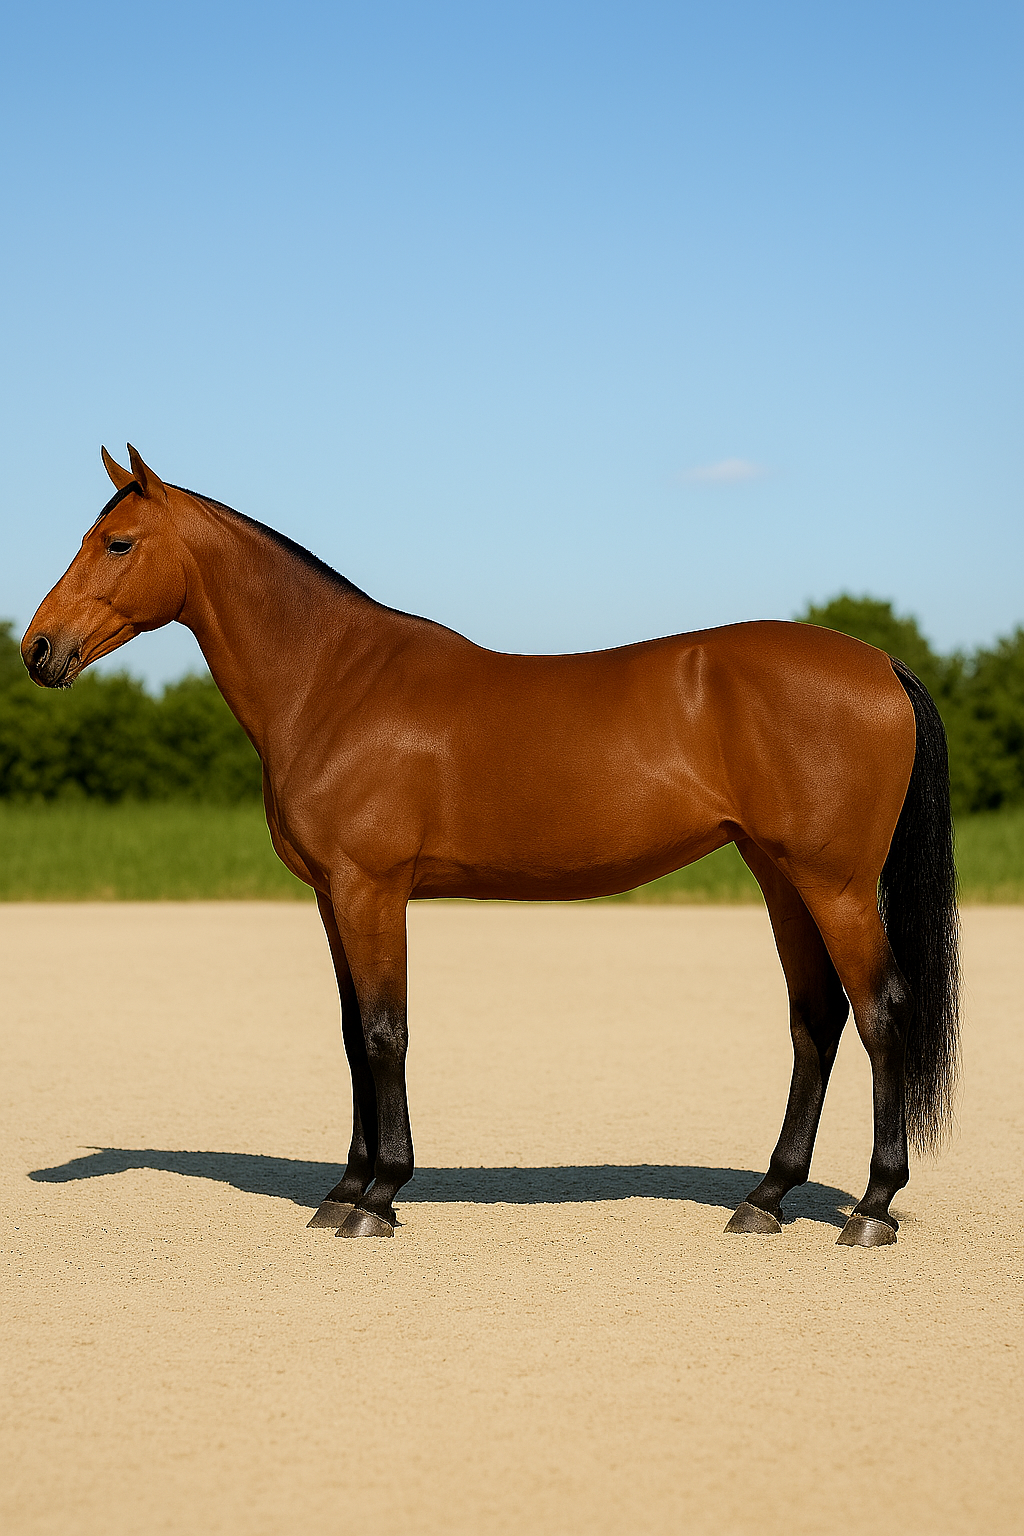
Image 2: Right Side View: Mirrored setup of the left side, capturing the full right side under the same conditions.

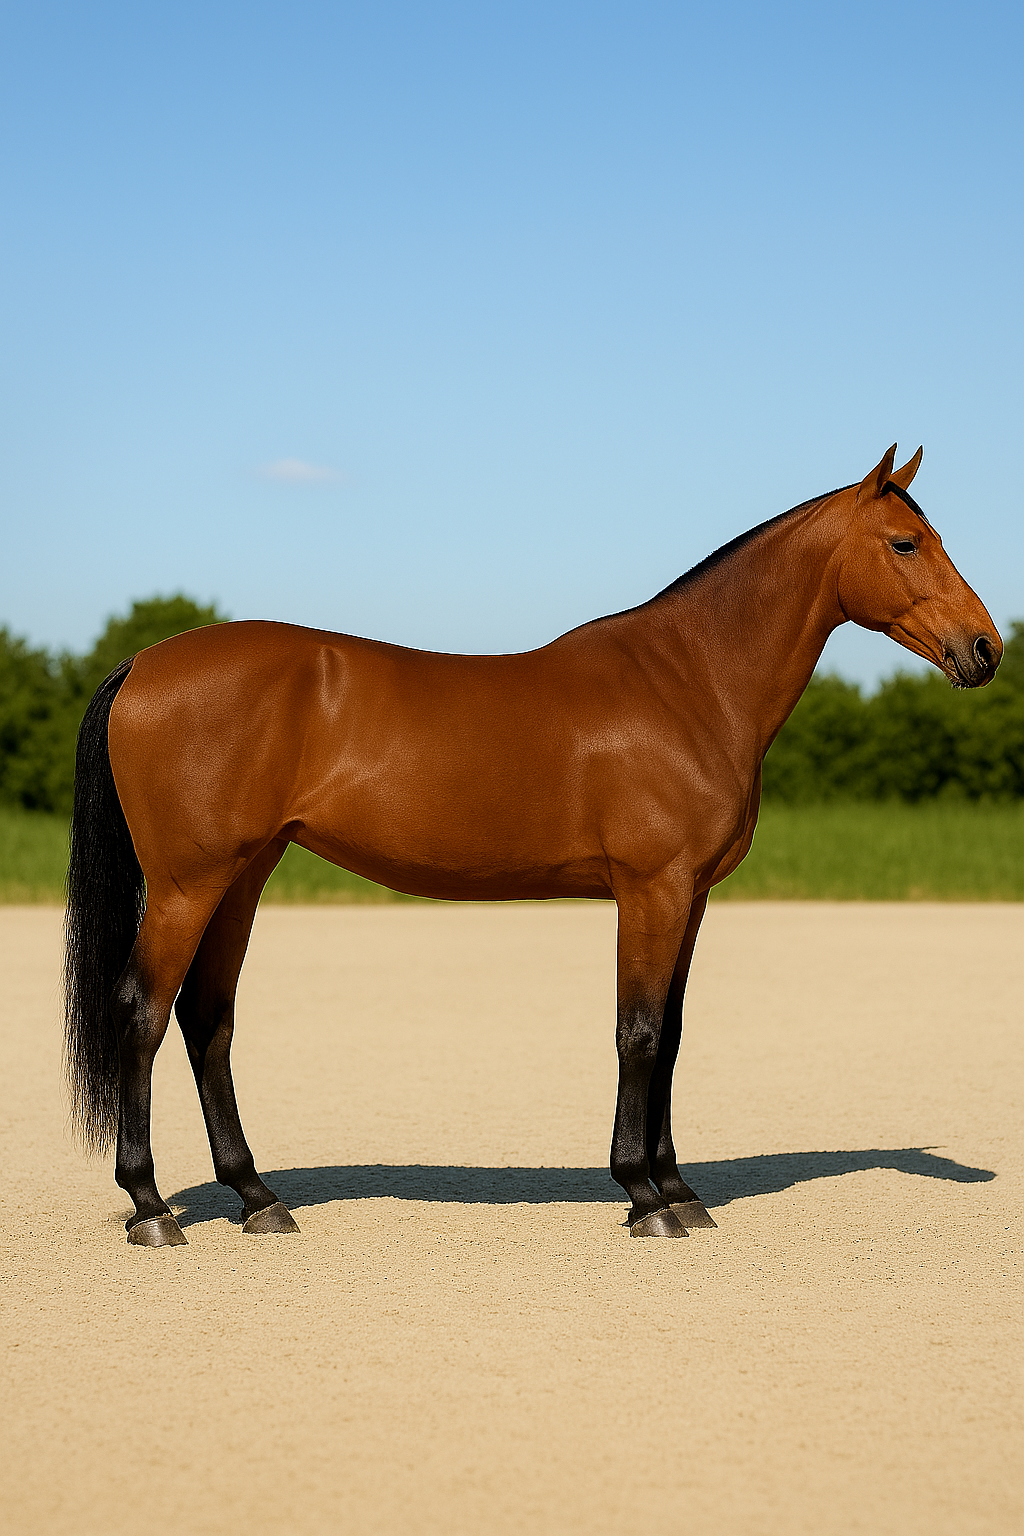
Image & Video Guide
Setup Tips
Use a flat, level surface such as a yard or arena.
Camera should be mid-girth to wither height and perpendicular to the horse.
Keep a consistent distance (approx. 3 – 4 m / 10 – 13 ft).
Ensure full body in frame, including all four legs.
Ask horse to stand naturally square—no leaning or stepping.
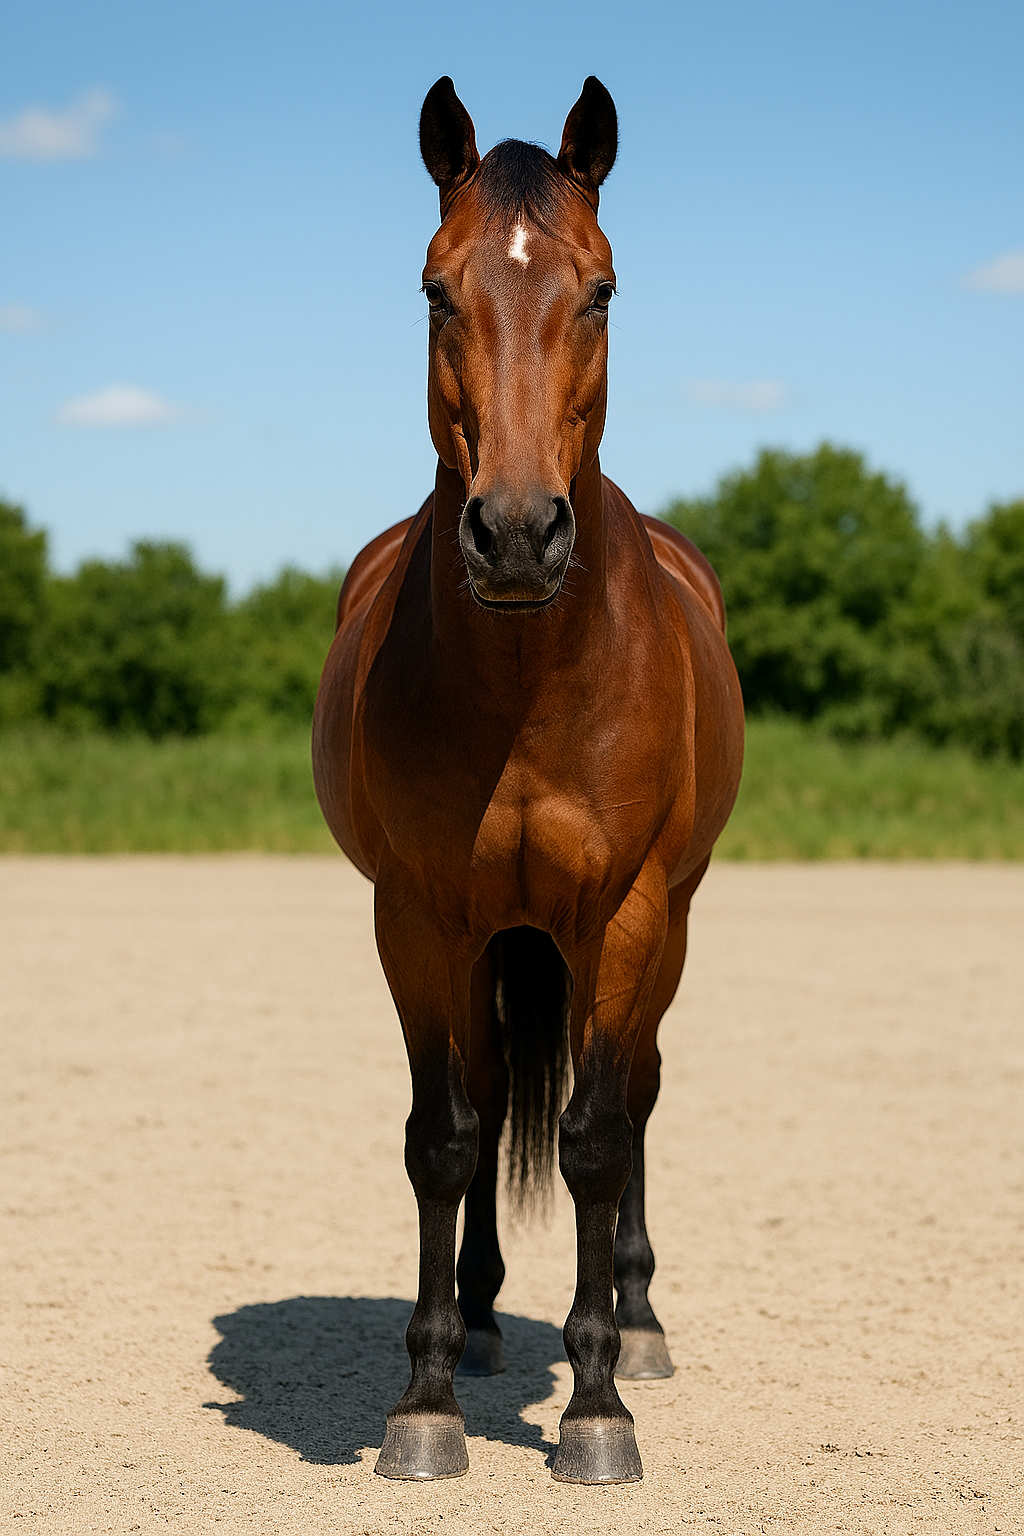
Image 3: Front View: Camera placed directly in front of the horse, horse stands square, head and neck neutral. The focus is on chest, shoulders, forelimbs, and neck alignment.
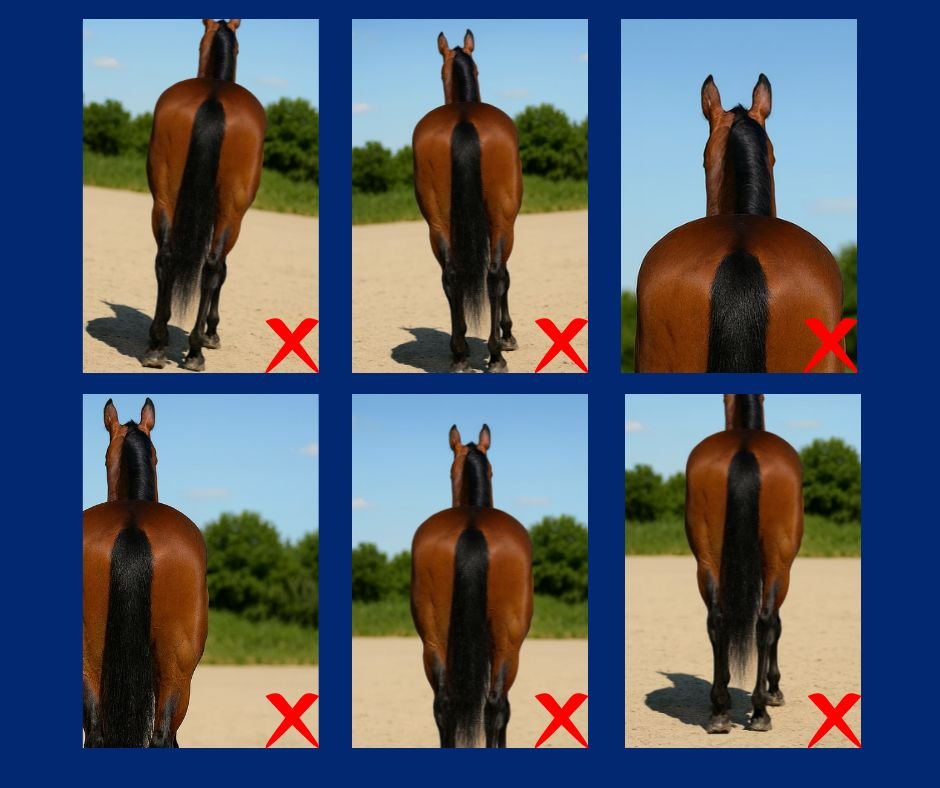
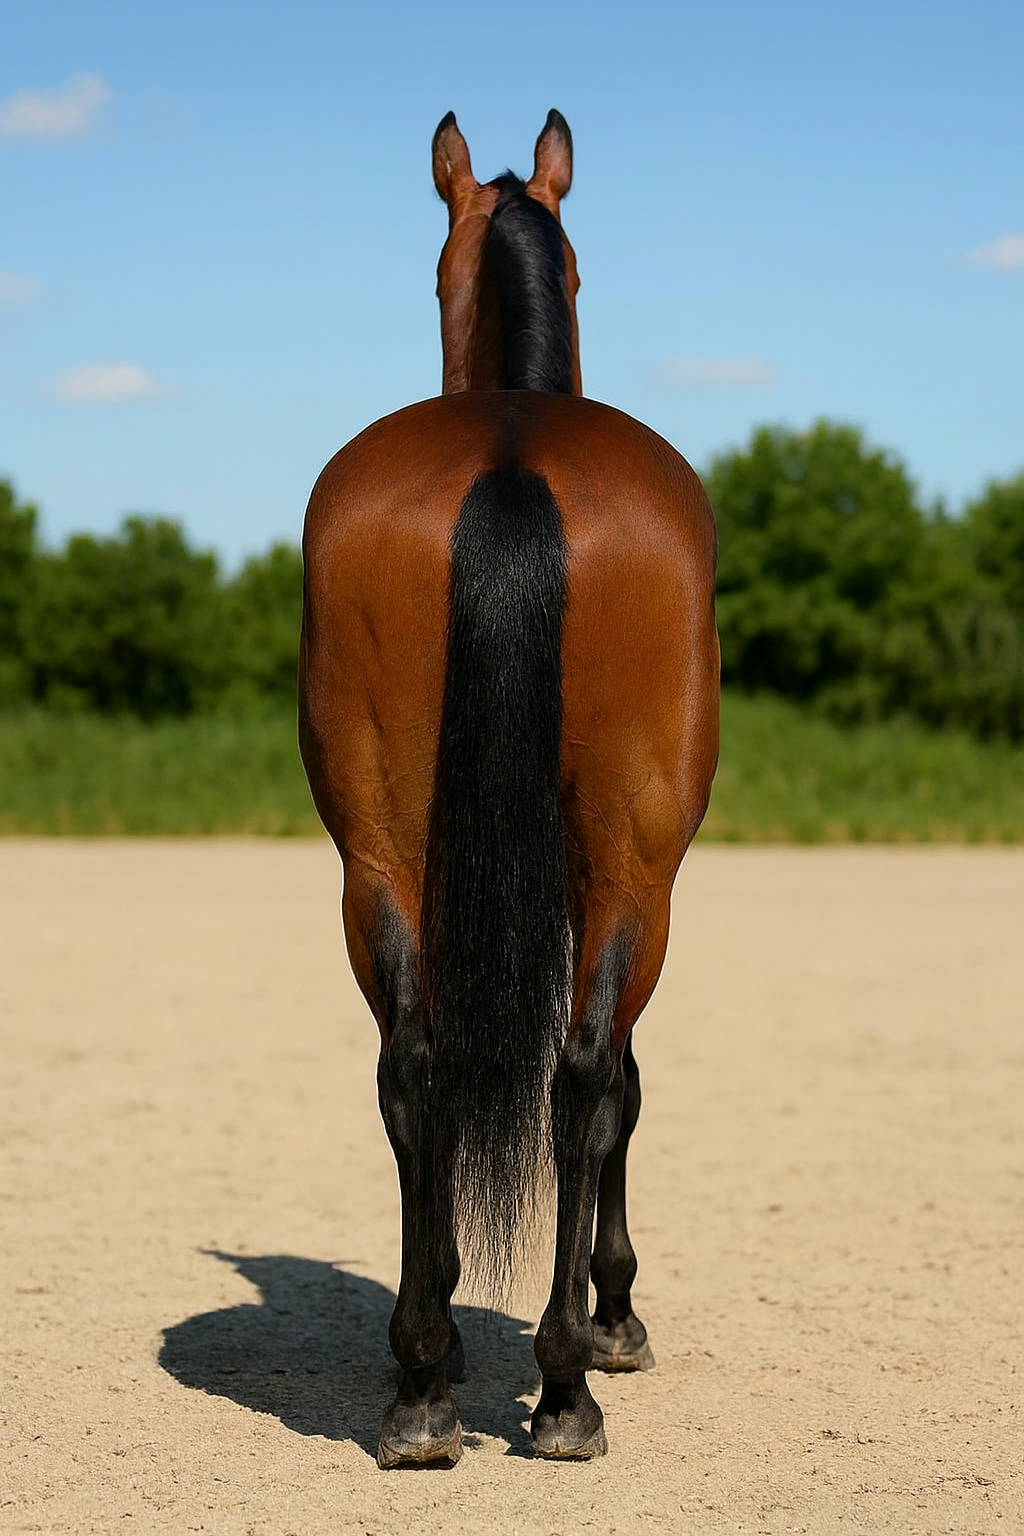
Image 4: Rear View: Camera positioned directly behind the horse, centred behind the tail, ensuring hindquarters and leg alignment are fully visible, with no tilt or angle.
Video Checklist: How to Record Your Horse for Assessment
To provide the most accurate assessment, please record short videos (10–20 seconds each) from the angles below. Each video helps assess your horse’s movement, posture, and symmetry.
Video 1: Walking from the Left Side
What to do: Walk your horse in-hand in a straight line (approx. 10–15 metres / 30–50 feet) with the camera tracking along the horse’s left side.
Why: Shows stride length, joint flexion, and left-side movement patterns.
Video 2: Walking from the Right Side
What to do: Repeat the process but walk the horse the other way with the camera tracking along the right side.
Why: Reveals any asymmetry or differences between left and right sides.
Video 3: Walking Towards the Camera (Front View)
What to do: Position the camera directly in front of the horse’s path as it walks straight towards you.
Ensure the chest, shoulders, and forelimbs are clearly visible.
Stop recording before the horse gets too close to avoid distortion.
Video 4: Walking Away from the Camera (Rear View)
What to do: Position the camera directly behind the horse as it walks straight away.
Focus on the hindquarters and hind limb alignment.
Keep centred on the tail for a true rear view.
Sample taken from Long Drove Video Library, Movement Focus - The Walk. Available to Premium and Deluxe Members.
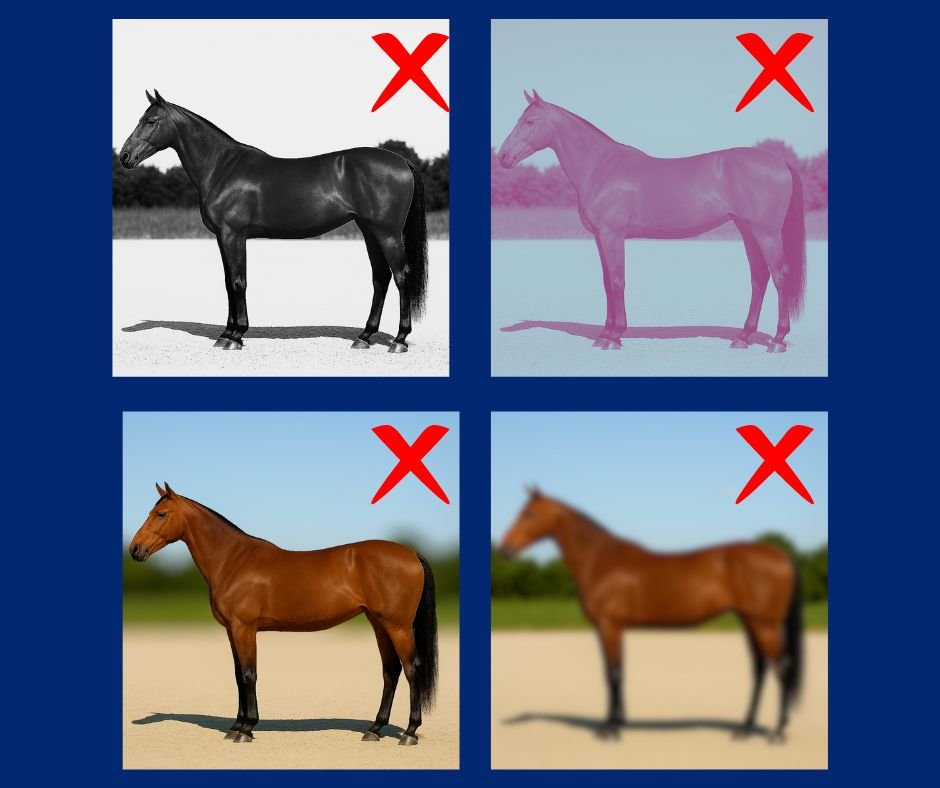
General Tips for Photos and Recording:
Film on a flat, level surface (yard, arena, or driveway).
Use a halter or bridle only—no rugs, boots, or tack obscuring the body.
Hold the camera at mid-body height (about girth level).
Ensure the entire equine remains in frame
Keep a steady hand or ask a helper to take photos and film.
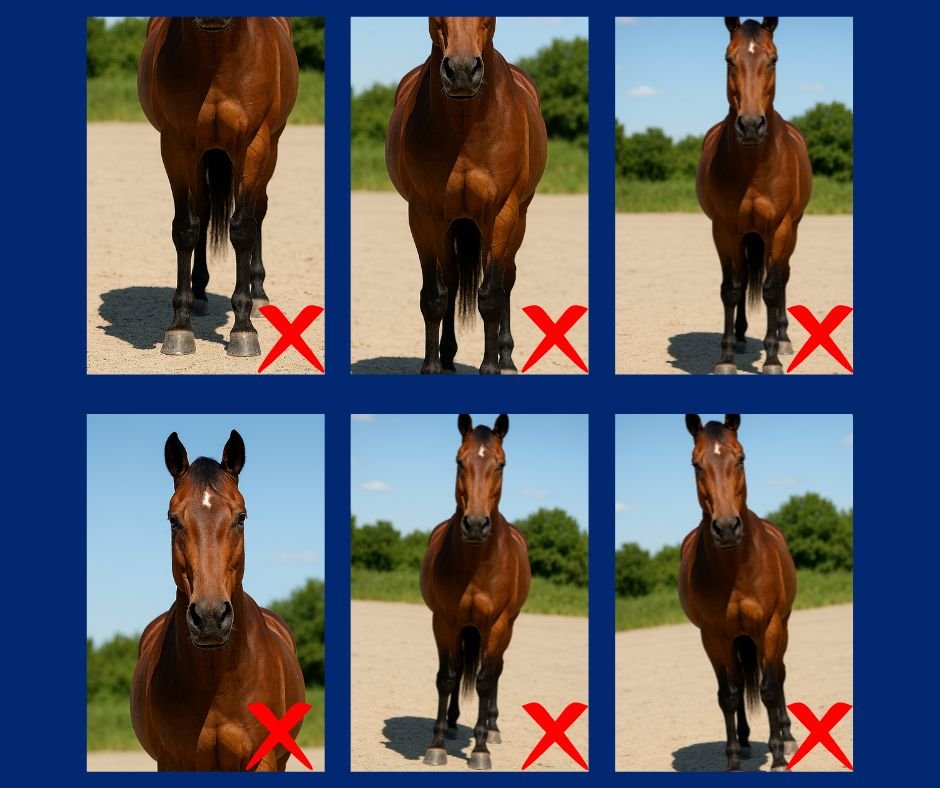
General Tips for Photos and Recording:
Do not use filters on photos or videos.
Ensure your equine is in focus.
Do not zoom in.
Contact Tara if you are struggling.